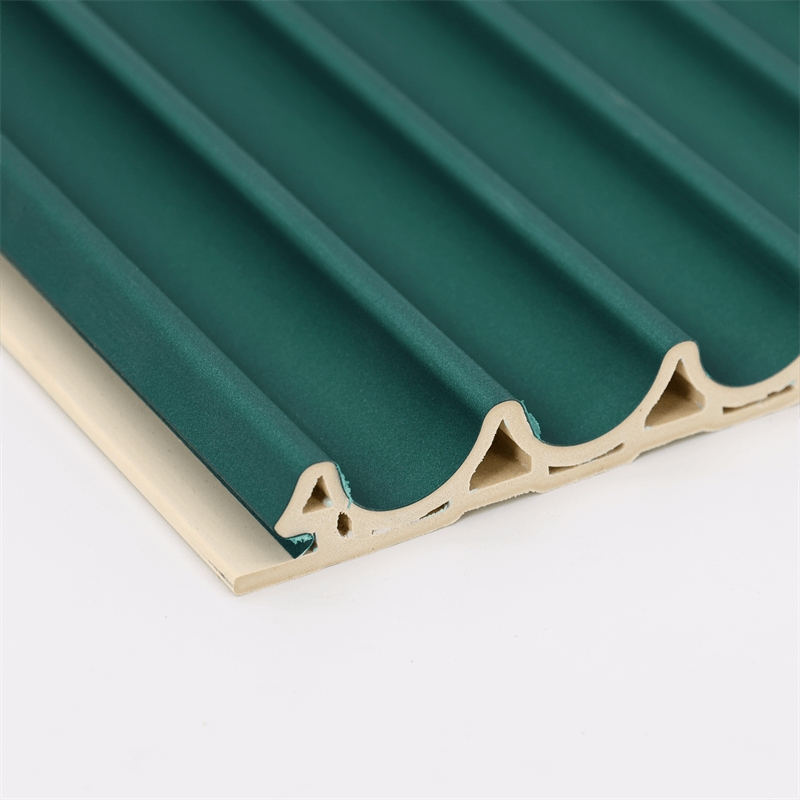
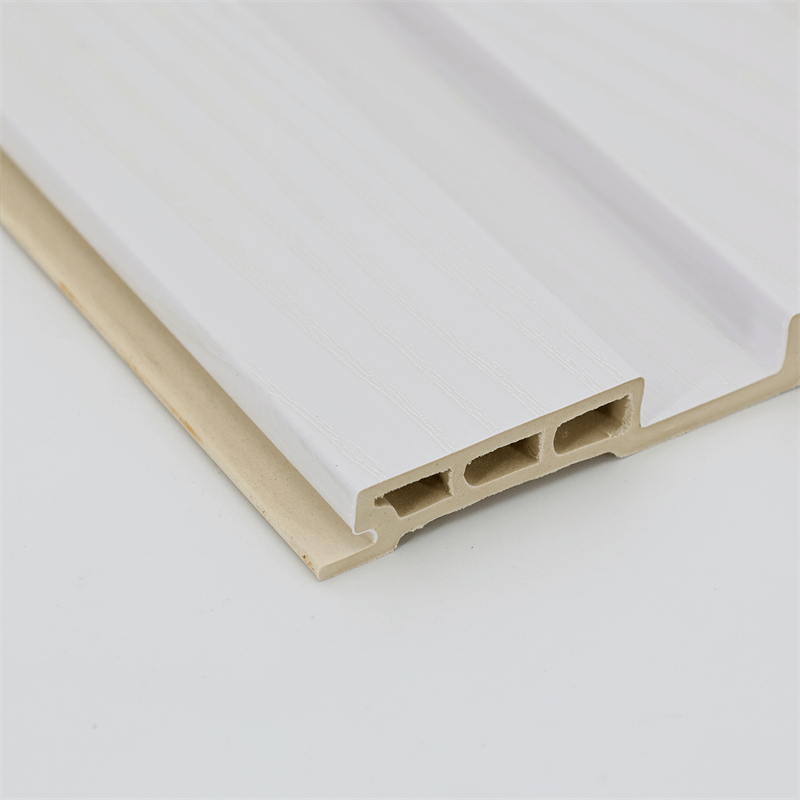
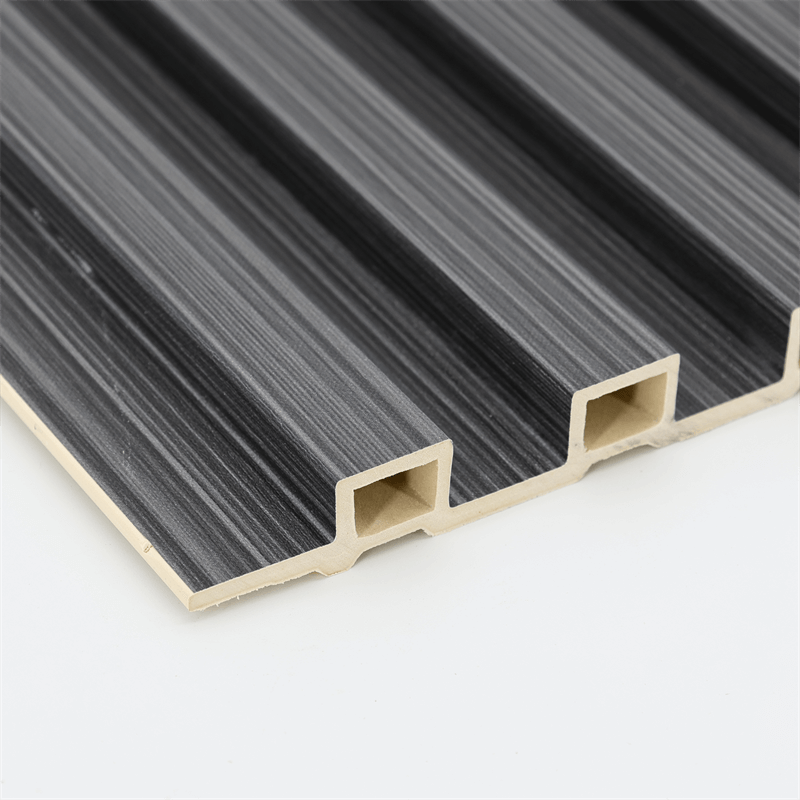
WPC (Wood-Plastic Composite) wall panels have gained popularity in recent years due to their versatility, durability, and aesthetic appeal.
When considering the installation of WPC wall panels, understanding the process is essential to ensure a successful and efficient outcome.
In this essay, we will delve into the installation process of WPC wall panels, covering four key aspects: preparation, measuring and cutting, installation techniques, and finishing touches.
I. Preparation:
Before beginning the installation of WPC wall panels, proper preparation is crucial to ensure a smooth and seamless process:
- Surface Preparation: Start by preparing the wall surface on which the panels will be installed. Ensure that the wall is clean, dry, and free from any debris, dust, or loose paint. Remove any existing wall coverings, such as wallpaper or old tiles, and repair any cracks or imperfections in the wall surface.
- Acclimation: WPC panels should be acclimated to the installation environment for a period of time before installation. This allows the panels to adjust to the temperature and humidity conditions of the space, minimizing the risk of expansion or contraction after installation.
- Tools and Materials: Gather all the necessary tools and materials for the installation process. This may include a measuring tape, pencil, level, saw, adhesive or fasteners, and any additional accessories or trim pieces required for the specific installation method.
II. Measuring and Cutting:
Accurate measuring and cutting are crucial to achieving a precise fit and a professional finish when installing WPC wall panels:
- Measurement: Begin by measuring the dimensions of the wall area to determine the number of panels required. Measure the height and width of the wall, taking into account any openings such as doors or windows. Consider the recommended expansion gaps between panels and the edges of the wall.
- Cutting the Panels: Once the measurements are taken, mark the panels accordingly using a pencil and a straight edge or template. Use a saw appropriate for cutting WPC material to cut the panels to the desired size and shape. Take care to make precise cuts to ensure a seamless fit when the panels are installed.
III. Installation Techniques:
There are different installation techniques for WPC wall panels, depending on the specific product and desired outcome. Here are two common methods:
- Tongue-and-Groove Installation: Some WPC panels come with a tongue-and-groove system, which allows the panels to fit together seamlessly. Start by applying adhesive to the back of the panel or the wall surface. Insert the tongue of one panel into the groove of the adjacent panel at a slight angle, then press them together until they lock into place. Use a rubber mallet or a tapping block to ensure a tight fit. Continue installing the panels row by row, following the same process.
- Interlocking Installation: Another common installation method for WPC panels is the interlocking system. In this method, panels have interlocking edges that fit together like puzzle pieces. Begin by applying adhesive to the back of the panel or the wall surface. Align the interlocking edges of two panels and firmly push them together until they snap into place. Continue installing the panels row by row, interlocking each panel with the previous one.
IV. Finishing Touches:
Completing the installation of WPC wall panels involves some finishing touches to ensure a polished and professional appearance:
- Trim and Edging: Install trim pieces or edging profiles along the edges and corners of the wall to create a clean and finished look. These trim pieces can be attached using adhesive or fasteners, depending on the specific product and installation requirements.
- Sealing and Caulking: Depending on the installation location, it may be necessary to seal any gaps between panels or between panels and other surfaces using a suitable caulk or sealant. This helps to prevent moisture penetration and enhances the overall appearance of the installation.
- Cleaning and Inspection: Once the installation is complete, thoroughly clean the WPC panels and remove any adhesive residue or debris. Inspect the installation for any imperfections or areas that require touch-ups, and make the necessary adjustments for a flawless finish.
Understanding the installation process of WPC wall panels is vital to achieve a successful and visually appealing outcome.
Proper preparation, accurate measuring and cutting, selection of the appropriate installation technique, and attention to finishing touches are key elements for a seamless installation.
By following the steps outlined in this essay, you can confidently install WPC wall panels and transform the aesthetics of your space.
Whether you choose tongue-and-groove or interlocking panels, ensure proper surface preparation, take accurate measurements, and utilize the appropriate tools and materials.
With careful execution and attention to detail, you can enjoy the benefits of WPC wall panels and create a visually stunning and durable wall cladding solution.
In conclusion, the installation process of WPC wall panels requires careful preparation, precise measuring and cutting, selection of the appropriate installation technique, and attention to finishing touches.
By following these steps, you can ensure a successful and visually appealing installation.
Proper surface preparation sets the foundation for a smooth installation, while acclimating the WPC panels to the installation environment minimizes the risk of expansion or contraction.
Accurate measuring and cutting ensure a precise fit, while the selection of the appropriate installation technique, such as tongue-and-groove or interlocking, depends on the specific product and desired outcome.
The finishing touches, including trim and edging installation, sealing and caulking, as well as thorough cleaning and inspection, contribute to a polished and professional appearance.
Paying attention to these details enhances the overall aesthetics and longevity of the installation.
It is important to consult the manufacturer’s guidelines and instructions for the specific WPC wall panels being installed, as different products may have unique installation requirements.
With a good understanding of the installation process and careful execution, you can successfully install WPC wall panels and enjoy the numerous benefits they offer, including durability, versatility, and aesthetic appeal. Transform your space with ease and confidence, knowing that you have followed the necessary steps for a seamless and visually stunning installation.